How to Make The Perfect Jack-o-Lantern
With Halloween coming up soon, everyone is getting into a spooky mood. Candy and costumes are all part of Halloween fun, but it wouldn’t be complete without a scary pumpkin to leave on your doorstep. It’s relatively easy, and there’s no right or wrong when carving your pumpkins. Here are a few easy steps to carve a simple pumpkin face.
Simple Pumpkin
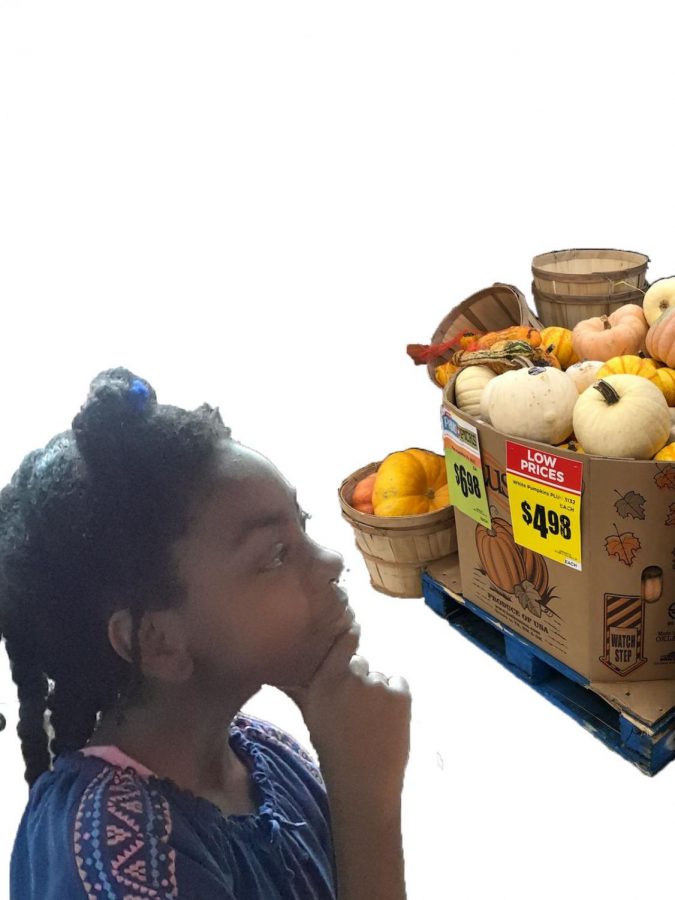
Step 1. Choose 1 pumpkin ( or however many you like) from a local food market. The best ones to use are medium-sized or large round pumpkins because they have the most space to use when carving.
Step 2. Use a steak knife to cut off the top of your pumpkin. You can use a dry-erase marker to mark the part you want to cut.
Step 3. Scoop out the pumpkin guts with a spoon and place it in a bowl. If you save them for later, you can use the seeds for a tasty snack.
Step 4. Use a dry- erase marker to draw any face on your pumpkin then cut it out with a steak knife.
Step 5. Place a small candle or led light inside the pumpkin, set the top back on, and let your pumpkin shine.
Tip: If you’d like to use a more professional set of materials, then you can buy a carving set from an HEB, Walmart, or Dollar Tree.
If you’re having trouble coming up with pumpkin faces, here’s an idea that may help. This pumpkin is called the “Cannibal” pumpkin, and it’s a slightly changed version of an idea that comes from Tom Nardone, the author of “Extreme pumpkins.” If you want to check out more of his fresh pumpkin ideas, you can find his book in the school library.
Here’s a list of tools used to make this pumpkin. Most of them are power tools but there are alternatives listed in Tom’s book. You’ll need a jigsaw, reciprocating saw, router, steak knife, and a big metal spoon.
Cannibal Pumpkin
Step 1. Buy one massive pumpkin and a tiny pumpkin. The small pumpkin should be about 1/4 the height of the large one
Step 2. Cut a face into the smaller pumpkin and scrape out any excess flesh.
Step 3. Trace an outline of the little pumpkin on to the larger one where its mouth should be. The mouth should look like it’s closing in on the small one
Step 4. Cut a hole in the large pumpkin, but make it slightly smaller than the widest part of the small pumpkin just in case. For instance, you can always make your hole bigger if needed, but you can’t make the hole any smaller.
Step 5. Draw the rest of the large cannibal pumpkins face.
Step 6. Gut the cannibal pumpkin.
Step 7. Carve the face of the cannibal pumpkin and shave the pumpkin skin off the eyes and teeth so they look even more 3D and scary.
Step 8. Wedge the small pumpkin into the mouth of your cannibal pumpkin. It should be a tight fit. If it’s too small scrape a little off the edges of the opening in the mouth.
Step 9. Spray the gutted surfaces of both pumpkins with WD-40 to preserve them. They should last about a week before they rot.
Tip: For your pumpkins, you don’t have to cut off the top. You can also cut the bottom to make your pumpkin look even cooler.
Till next time; have a very scary Halloween!

Harmony is a 12-year old who loves watching 80s & 90s movies. She is very resourceful, likes to think outside the box, and puts in her best efforts...


