I Tried Stop Motion
I got the chance to try and make a stop motion film for the first time, with no prior experience, just learning as I went along. The process was very different from how I imagined, but in the end, it was all worth it.
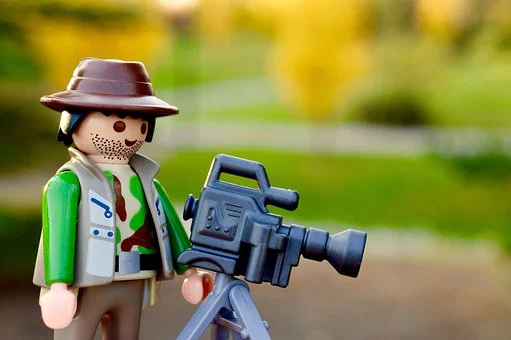
Though many people don’t know it, stop motion has been a part of our culture for a long time. When you see an animated movie, it is most likely stop motion or has attributes of a stop motion animation. Stop motion is one of the oldest forms of filmmaking, and though the process of making a stop motion animation is tedious the results are often earth-shattering. I got the chance to try and make a stop motion film for the first time, with no prior experience, just learning as I went along. The process was very different from how I imagined, but in the end, it was all worth it.
I am what could be called a connoisseur of film, and I love trying new film styles when I get the chance. I was given the opportunity to make an information film and knew this was my opportunity to try stop motion out. I knew the basics of stop motion, which can be defined as a filming technique in which objects are physically manipulated in small increments and photographed to produce the appearance of motion. I figured you simply moved an object between film frames until you had a final product, easy, right? I had a timeline of two weeks and got to work right away. What I didn’t know was that a smooth fifteen-second stop motion animation can take around an hour to make, and a five-minute stop motion animation can up to 60 hours of work. Popular stop motion films like THE LEGO MOVIE, and Coraline took years just to film.
Monday was the first day I started working on my stop motion animation. I was given time to work on my project in class, however, I spent most of that time drafting on paper and planning because I couldn’t film without a set. Stop motion animation was already proving to be tedious, as I would only be able to film at home on my own time. The time I spent drafting on paper, did end up being advantageous very though, as it gave me a clear idea of what I wanted from my film and how I wanted to manipulate objects, which allowed me to film most of the animation in one take.
After class, at home I created my set, choosing a background, lighting, and film space. In case you were wondering, my background was an old bed sheet and other unused cloths, and in order to get overhead lighting, I used a lighted mirror as a makeshift ring light. My set was placed in an open space beside my bed, where I leaned a tripod over to get an areal view of my set.
Tuesday, I spent once again drafting in class, and at home, I played around with stop motion animation. Much of my film would be stop motion transitions, which I had a lot of fun experimenting with. At this time I had many ideas floating around in my head, and I had originally thought I would finish filming them all that day. However, I soon found out that filming stop motion required a good sense of where you will be and how it will get there. For example, I often found myself with frames that had inconsistent speed and choppy animation because I wasn’t moving my object at an equal proportion. If you want your object to move smoothly, you have to fill more frames with the object moving in smaller increments. A fast-moving object can be filmed in fewer frames with larger increments of movement and can be edited to a fast clip speed.
On Wednesday, I hit a major block when I realized that one, I needed copyright-free music, and two, I needed my animations to match up with my music. I feel that background music can really make or break a video, and without background music, my video would feel lengthy and bland especially being heavy informational. The problem led me to think about the other editing aspects of my film that might have a major impact on the final product. With a deadline barreling closer every day, I was really hoping to not have to go back and refilm anything. I spent my class time finding copyright-free music and images and went home to create an animation plan that ran smoothly with my music.
Thursday and Friday were spent researching and writing a script, as well as finding props and other background items. I made sure that everything I said during my film was accurate and understandable. Spending a few days taking a break from filming the animation, gave me time to see a clear vision of my video, so when I finally got to film there were little to no mistakes.
Saturday, I finally filmed the whole animation. I decided to make four different animations, with stop motion animation transitions. The information topic I chose was somewhat broad, so sectioning out the topic made it simple and a lot easier to film. I chose one animation object to be constant in every frame, whether being stagnant or moving, so the viewer would have something to follow. This constant object also drew most of the attention to it, so any choppy or recycled clips would be less noticeable.
After a little bit of trial and error, I found a method to filming and everything became routine. While the process of making a stop motion isn’t hard, it is tedious, and though I started filming at 9:30 in the morning, I didn’t finish filming until nearly 8:30 at night. My phone, which I was filming with, would often die and I would have to charge it, recenter it around the scene, and estimate where my animation objects were and where they would be next. I found it hardest to film transition animations that included multiple objects and timed music. When filming an animation I realized that you have to think about everything in the scene and how it will move next. I would often film a scene forgetting about one of the objects, and it would just be stagnant while everything else was moving.
Some of my favorite animations include the use of flat objects that looked two-dimensional on camera. When filming with a two-dimensional object you aren’t limited by lighting or shadows, and it becomes possible to create almost anything imaginable. I printed out images and filmed loopable clips that not only looked cool but also saved me a lot of time. I got the idea to cut parts of the printed images out and give them their own animations, which drew attention and made the images look as if they were alive.
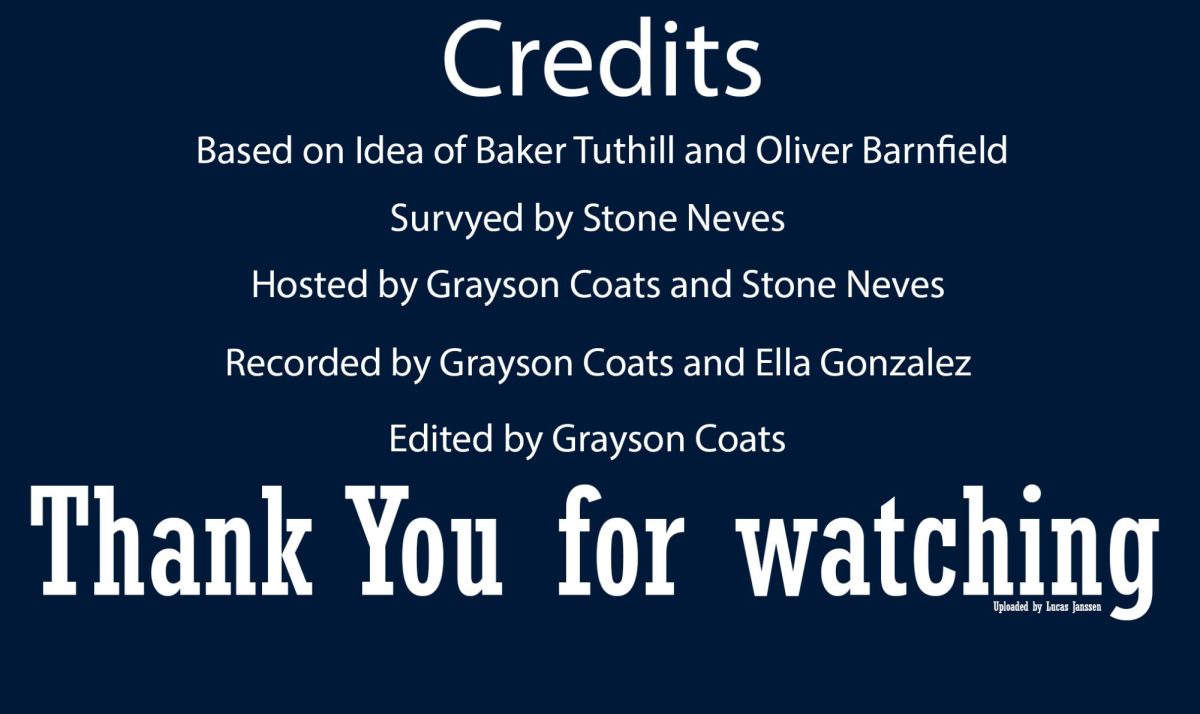
I edited all my clips on Monday through Wednesday, which was surprisingly easy. All the content was already there in the clips, and all I had to do was speed or slow them down accordingly. I found it really cool to see how the clips came together to make one video. Editing a stop motion was much easier than editing a filmed video, and took a lot let time. With that in mind, the long process of filming a stop motion made sense. Before cutting and adjusting the speed of my clips, my video was around 15 minutes, but after all the editing was done I got it down to 7 minutes. Aside from editing the clips, I only had to add music, text, and credits.
The only complaint I have about editing was that the video when downloaded was 3GB, which if you didn’t know is A LOT of data. I suppose the thousands of clips had something to do with it, but I honestly think it was worth it.
In Conclusion, I would highly suggest trying stop motion. Would I try stop motion again? Honestly, no, due to the lengthy process; but I have no regrets about how I spent the past two weeks. If you couldn’t tell from this extremely long article I really enjoyed the process despite how long it took, and I feel that I learned something new and useful. Although my video isn’t the best and definitely could use some improvement, I think it shows my development in filming and is a great first try at stop motion. If you’re interested in learning more about film and want to improve at making videos, give stop motion a try.
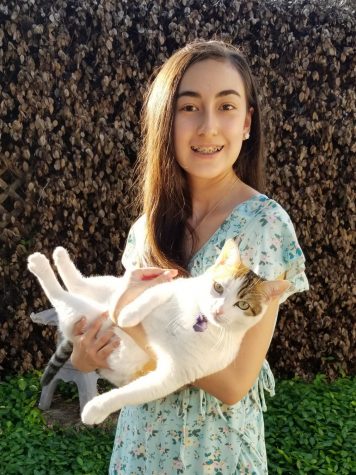
Hi, I'm Arden! I'm an 8th grader here at Canyon Vista Middle School. In my free time (when I'm not struggling to meet an assignment deadline), I'm usually...


